Recall that, when we provisioned the Azure Data Factory resource, we chose to configure Git later. In this post, I will show you how to configure source control from Azure Data Factory UI.
The pipelines, as well as all the code, scripts and files associated with the WTA Insights project are available on my GitHub repository. Please check License section on the website menu above for more details.
GitHub is a code hosting platform for version control and collaboration. If you don’t have a GitHub account, you can create one here.
Head over to Azure Data Factory UI. From here, you have three different ways to initiate the code repository setup.
On the Data Factory overview page, there is a shortcut that will take you to the repository configuration page.

On the Author page and the Manage page, we have available the Data Factory drop-down menu, and then choose Set up code repository.
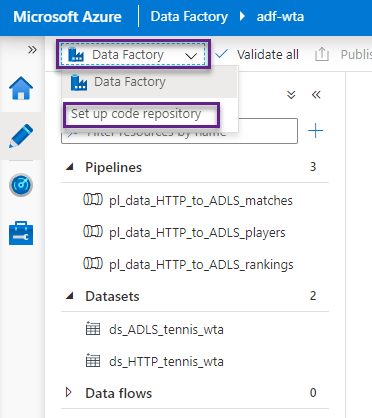
From the Manage page, under the Source control section, select Git configuration, then click Configure.

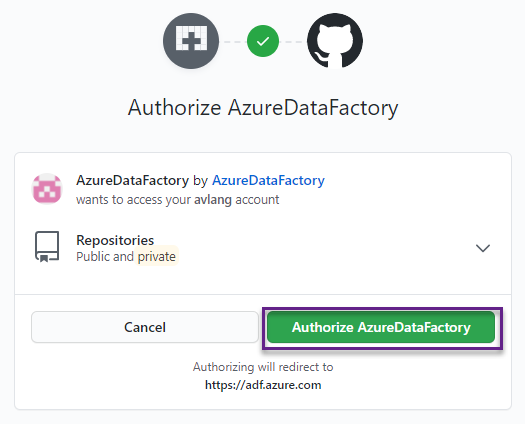
All above options will take you to the Configure a repository window. Select Repository type GitHub. If you have an enterprise GitHub, you can use that as well. Fill in your account name and log into GitHub.

Authorize Azure Data Factory to access your GitHub.
After authentication, fill in the remaining fields in the Configure a repository window, then click Apply.
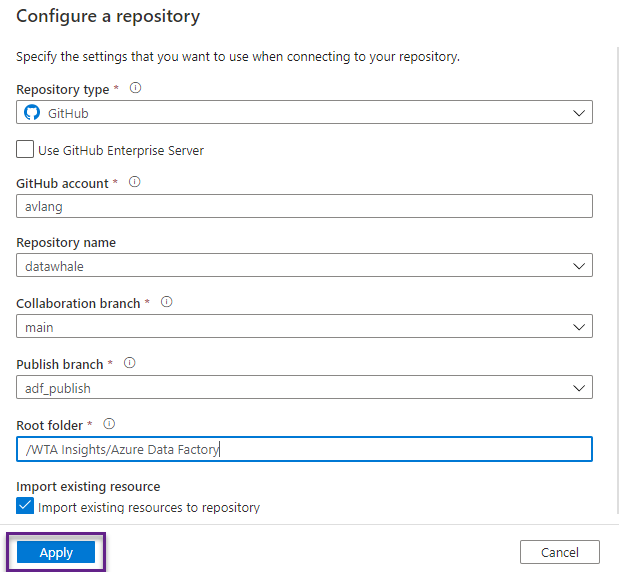
Your screen should look similar to the image below. The Git repository is configured and any change made in Azure Data Factory, will now be synchronized in GitHub.

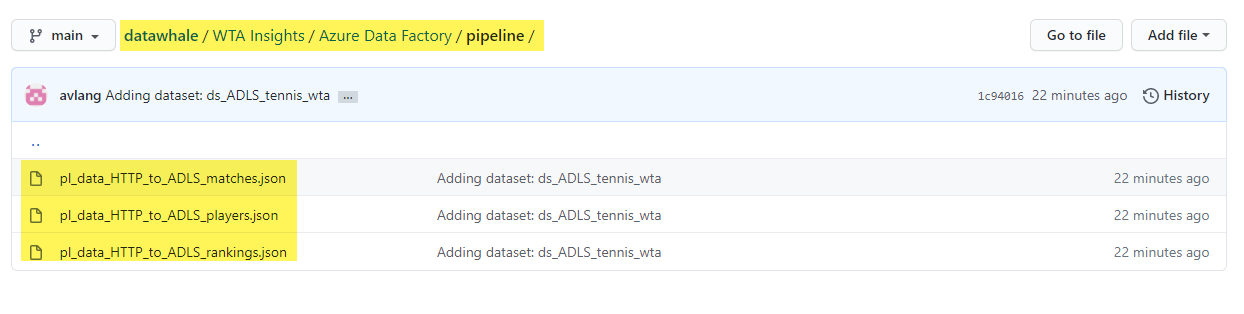
Switch over to your GitHub repository and validate that all the data factory artifacts are committed.
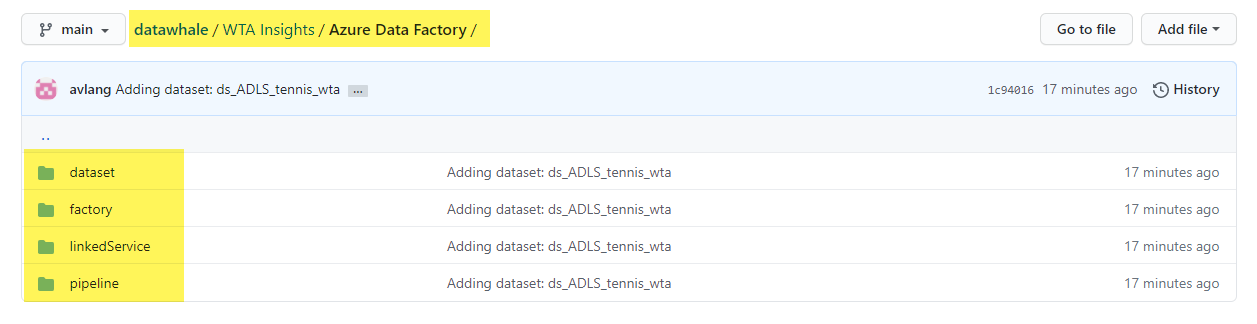
Navigate the folders to access the json files for linked services, datasets and pipelines.
What’s next
Let’s have a look at how to schedule pipelines for automatic execution using triggers.🐳
Want to read more?
Microsoft learning resources and documentation:
Source control in Azure Data Factory
